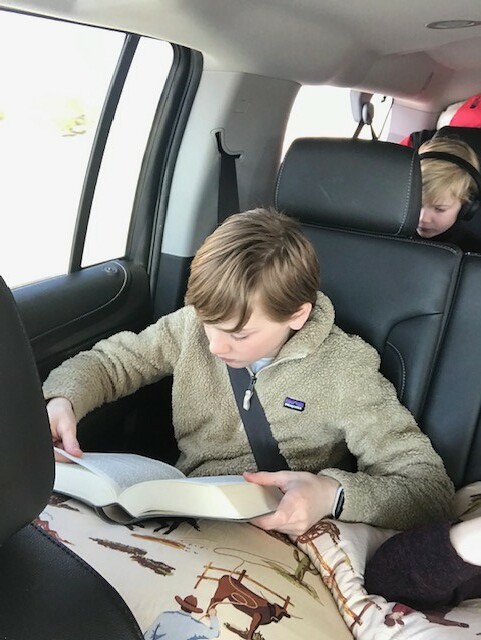
It's been fun talking to the boys about all that they're blessed with. On our 15 minute ride to their preschool this morning, the whole way there we talked about things to thank God for. We started with our five senses and then went to body parts...Peyton was glad to have "strong legs to run real fast and to climb tall trees with!" Lawson was most grateful for his tongue, "so I can taste pizza and pancakes". Once I got them thinking, they kept going with it, so we literally thanked God for just about anything we could think of. God certainly has blessed us beyond measure and we truly are grateful! I'm loving this holiday season and the memories we're making together!
Here's what you need to make the thankful turkey:
Take a knife or scissors and cut a flat side to the large ball then begin wrapping in yarn...
Do the same for the smaller ball...I used a hot glue gun to hold the ends of the yarn in place.
Press a wooden stick into the small ball in order to attach the head to the body...
Cut out your felt shapes (eyes, beak, gobbler)
Take colored construction paper and cut out feathers, then use a hot glue gun to attach little wooden sticks (tooth picks would work) to the back of each feather and then press into the body of the turkey. And Voila! A thankful turkey! This is a quick craft, takes about an hour to do. My boys are loving it! Once we fill out all our feathers I'll share some of our blessings with you!


No comments:
Post a Comment